How to Document Flooring Installation with Photos: Installer's Guide
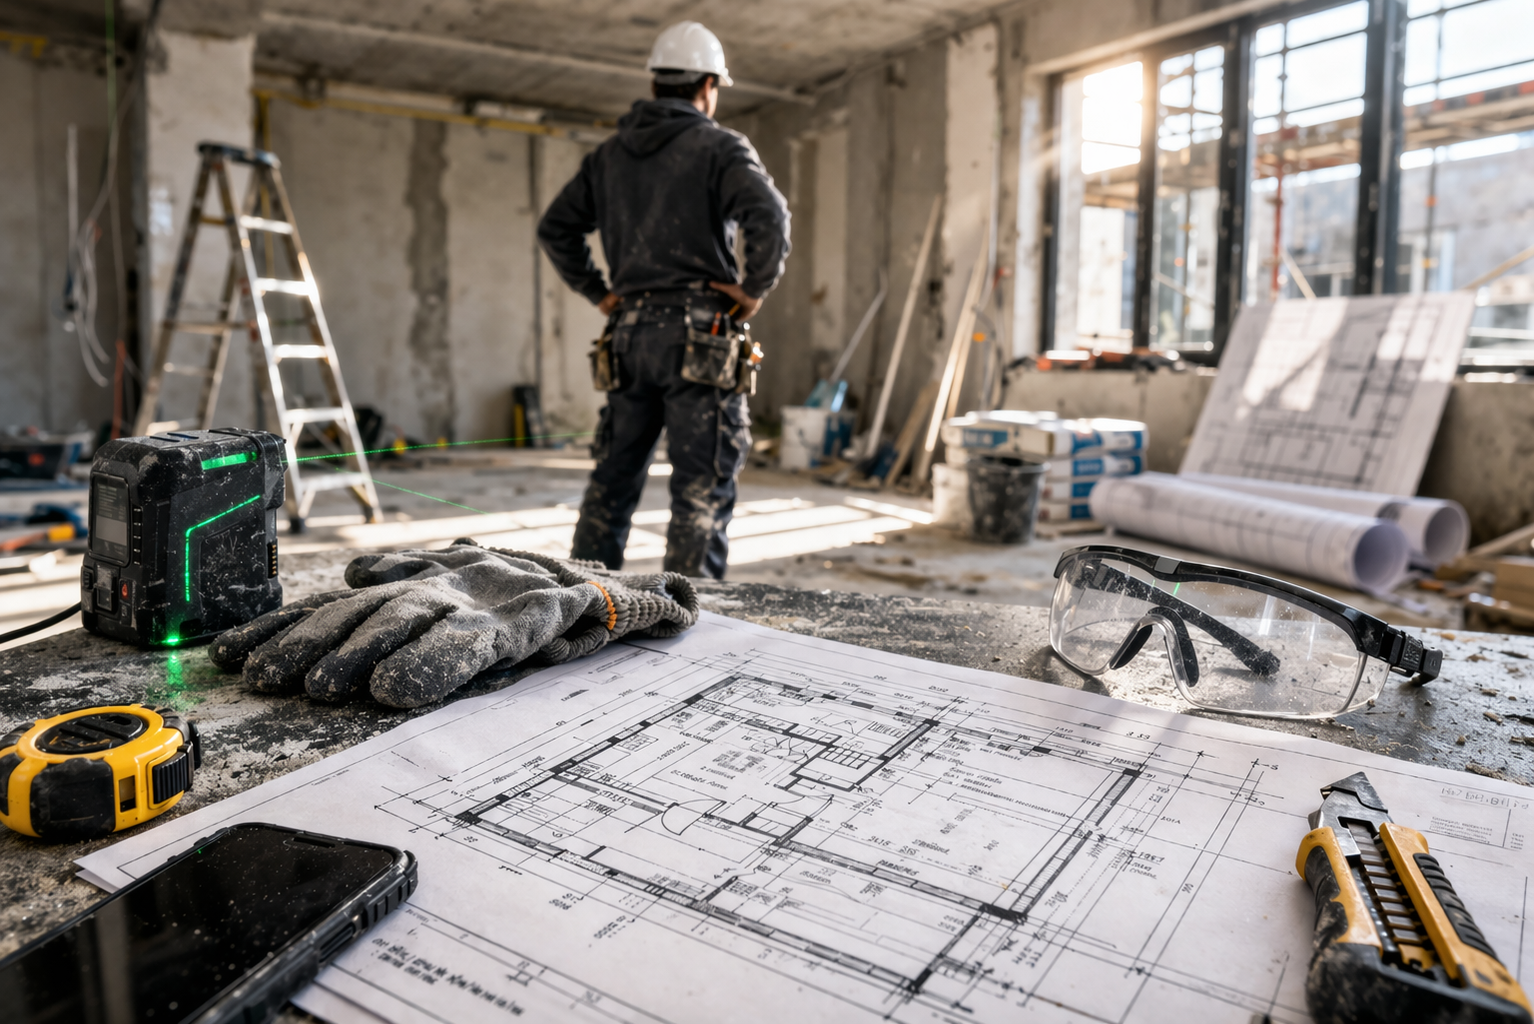
Flooring Failures Are Always Blamed on the Installer
Laminate lifts after 18 months. LVT de-laminates near the patio door. Engineered boards start squeaking in the second bedroom. In every case, the flooring installer is the first call.
The actual causes could be anything: substrate moisture, underfloor heating set too high by the homeowner, humidity changes, furniture legs without felt pads, subfloor irregularities that were beyond spec but the client signed off on. But without documentation, you're fighting a case you prepared nothing for.
Flooring installation documentation is not optional if you want to run a professional operation. It's the evidence file you never expect to open but always need eventually.
What Flooring Installers Need to Document
The key difference from other trades is that flooring documentation must capture the substrate — because the substrate is what most flooring failures trace back to.
Substrate Documentation Before Work Begins
Moisture readings:
- Photograph the moisture meter on the subfloor with the reading visible
- Take readings at multiple points across the area: centre, corners, edges
- Note the date and ambient conditions (hot day, rainy day)
If the moisture reading is above the acceptable threshold for the specified flooring, stop. Photograph the reading, note it in writing to the client, and do not proceed until the client has acknowledged the risk or the subfloor is remediated.
Subfloor flatness:
- Photograph any undulation check using a long straight edge or spirit level
- Note any out-of-spec areas with measurements
- Document any areas where grinding, filling, or self-levelling compound was applied
Existing condition:
- What was laid before? Photograph the existing floor before removal
- Any existing damage — cracks in the screed, movement in the boards, damp patches
- Condition of subfloor after strip-out: before any prep work begins
Materials Documentation
- Photo of flooring batch numbers before opening packs
- Underlay product and brand
- Any adhesive or fixing products used
Batch number documentation is critical for wood-based products — colour variation between batches causes as many post-installation disputes as anything else.
Progress Documentation
You don't need to photograph every row. Photograph:
- First row in position (direction, starting point, expansion gap)
- Direction change or pattern change points
- Doorway and threshold details before door bars are fitted
- Under kitchen or bathroom units if applicable
- Any areas where you deviated from the standard layout (around hearths, alcoves, bay windows)
Completion Photos
- Full room from each corner — the same positions as the before photos if possible
- Close-up of the threshold at each doorway
- Expansion gap at the perimeter (under skirting or against the wall)
- Any specific feature: herringbone pattern start point, parquet inlay, transition strip to different flooring
- Skirting boards or beading refitted over expansion gap
The Moisture Conversation: Document It in Writing
If you encounter a moisture reading that gives you pause but the client wants to proceed anyway, document that conversation.
Write a brief note: "Moisture reading at [location] measured [X]%, above recommended maximum of [Y]% for [product]. Client [Name] advised of risk and requested work proceed. Date: [date]."
Photograph that note alongside the moisture reading. Have the client acknowledge it — even a text reply of "ok yes go ahead" is acknowledgement. Keep that thread.
This single piece of documentation has protected flooring installers from claims worth tens of thousands.
Using Before-and-After Photos as a Portfolio
Like painting contractors and bathroom renovation teams, flooring installers build their best marketing from project archives.
Before: a tired, scratched laminate in a dated wood tone. After: wide-board engineered oak across an open-plan kitchen-diner. That contrast sells more flooring jobs than any website copy.
For bathroom renovation before-and-afters (which often include tiled or waterproof flooring), see how to take before and after photos for a bathroom renovation.
For interior painting contractors working on the same job (paint before or after flooring is always a sequencing discussion worth having), see before and after photos for interior painting.
Turning Documentation Into a Handover Report
When the job is done, pull together:
- Pre-installation substrate photos with moisture readings
- Materials batch references
- Progress photos showing any specific installation details
- Completion photos
Send this as a handover document to the client. Include any care and maintenance notes for the specific product (cleaning products, humidity range, furniture leg requirements).
JobDone makes this quick: photograph through the job, generate the report, share it with the client in under 2 minutes before you load the van.
Common Documentation Mistakes on Flooring Jobs
Skipping moisture documentation. It's the most important photo you'll ever take on a flooring job. Don't skip it.
No before photos after strip-out. The state of the subfloor after you've removed the old floor is what you're working from. Photograph it before you start prep.
Not photographing batch numbers. If there's a colour dispute six months later and you can't prove what batch you installed from, you have no defence.
Taking photos but not labelling them. A folder of 40 photos with no job reference is useless in a dispute. Every photo needs to be attached to a specific job record.
Try It on Your Next Job
Every flooring installation has a substrate story and a transformation story. Document both. The time investment is 15-20 minutes. The protection it provides lasts the life of the floor.
Download JobDone free and make photo documentation part of every flooring job — from a single bedroom to a whole house.