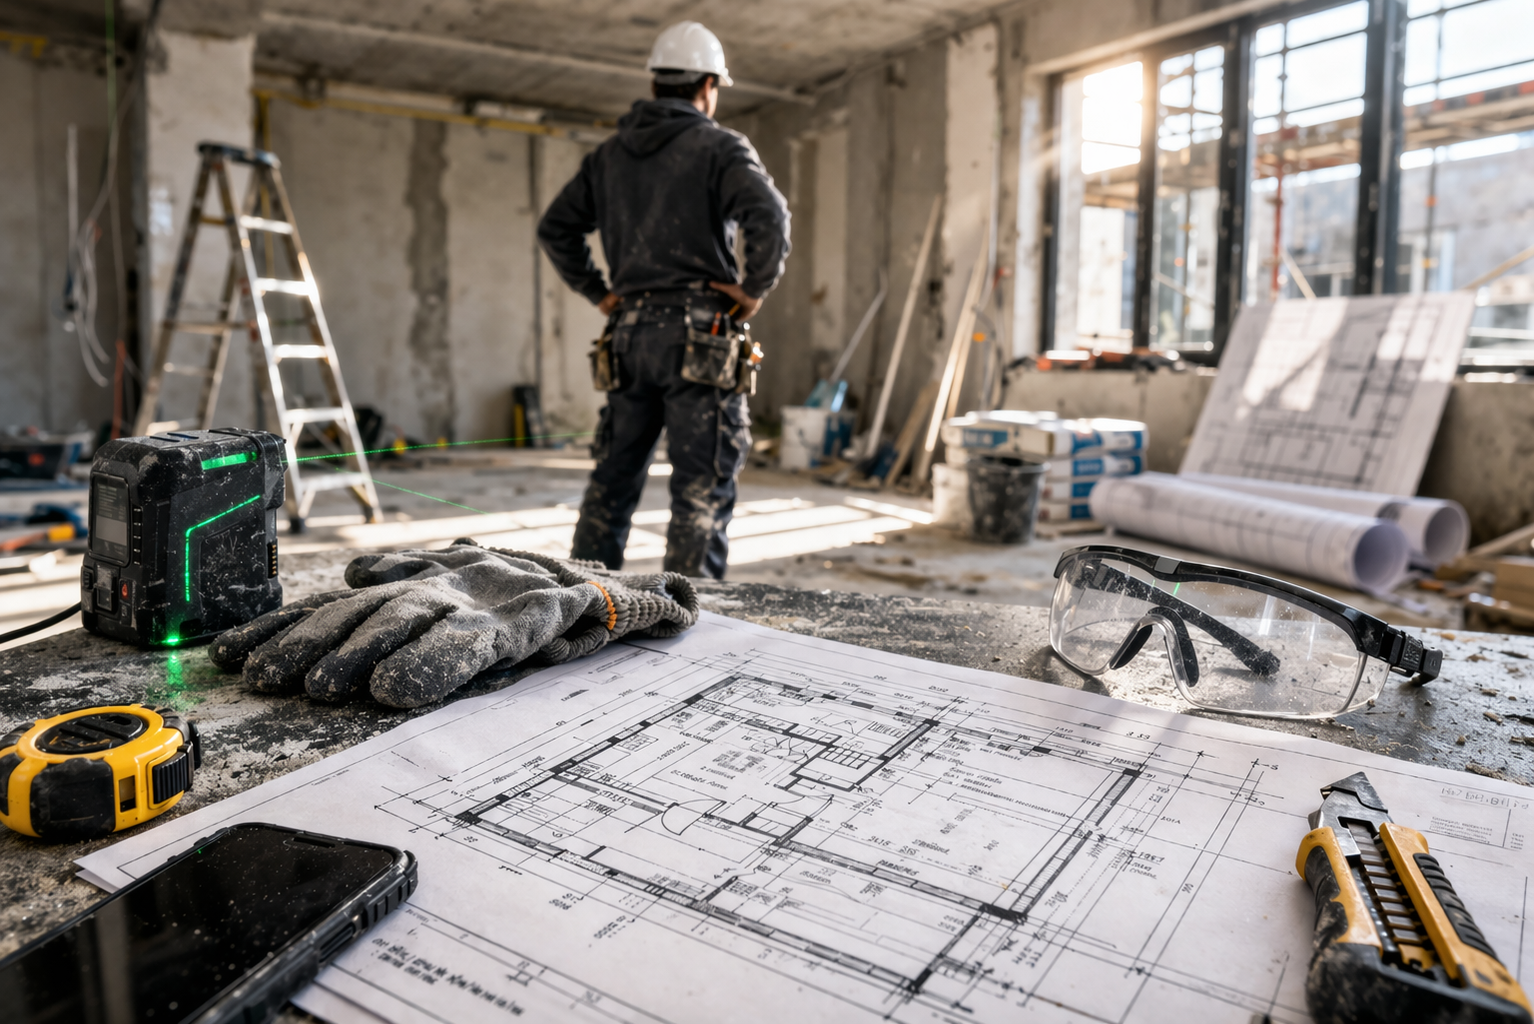
How to Share Renovation Progress Photos with Your Client

Your Client Is Thinking About the Job Every Day
You know the job is going well. The tiling is running straight, the painting is coming up clean, the schedule is on track. Your client doesn't know any of that.
They're sitting at home imagining things going wrong. They wonder if the prep was done properly. They wonder if the plasterer left a mess. They wonder if the colours look right.
This is why progress updates exist. Not because clients don't trust you — but because they can't see what you can see, and uncertainty breeds anxiety. A brief progress update with photos resets that anxiety immediately.
The painters and tilers who send regular progress updates get fewer site visits, fewer anxious phone calls, and faster final payments. The communication does the work that in-person reassurance would otherwise have to do.
What a Progress Update Should Include
A progress update is not a daily report. It's a brief communication at meaningful milestones that tells the client: here is where we are, here is what we've done, here is what comes next.
The structure:
1. Where you are today One or two sentences. "We've completed the first coat on all bedroom walls and the hallway. The second coat goes on tomorrow, and we'll start the woodwork Thursday."
2. Photos of the completed work 3 to 6 photos is enough. Not everything — curated shots that show the meaningful progress.
For a painter:
- The primed surfaces before the first coat
- First coat complete (one representative room)
- Any difficult areas handled well (reveals, intricate mouldings, ceilings)
For a tiler:
- The prepared substrate before tiling started
- Tiles bedded on the main field
- A close shot of any feature or pattern work
- Grouted section showing finished result
3. What comes next A brief note on the schedule. "Second coat tomorrow, door and window frames Thursday. Snag check Friday morning, then we're done."
This section matters. It tells the client when they can expect to hear from you again and what the completion timeline looks like.
How Often to Send Updates
Match the update frequency to the project length.
For a single-room repaint (2-3 days): one mid-job update when the first coat is done, then a completion message when finished.
For a full apartment paint (1-2 weeks): update every 2 days or at each meaningful milestone — prep complete, first coats done, second coats done, woodwork complete.
For a kitchen or bathroom tiling project (1-2 weeks): update when substrate prep is done (before tiling starts), when the main field is tiled, when grouting is complete.
For a multi-room or full-house project (3+ weeks): weekly updates minimum, plus milestone updates at each room or area completion.
The rule of thumb: your client should not have to ask for an update. If they're calling you to ask how it's going, your communication frequency is too low.
The WhatsApp Problem
Most tradespeople share progress photos over WhatsApp. The problem is not WhatsApp itself — it's that WhatsApp is a chat tool, not a documentation tool.
Photos sent over WhatsApp:
- Compress the images, often significantly
- Sit in a general conversation thread mixed with all your other messages
- Get lost when the client can't find them a week later
- Can't be easily filed by the client as a project record
A professional progress update has a clear structure, good-quality images, and a record the client can return to. It looks like a document, not a chat message.
When a client needs to show their partner what the tiling looks like, or show their architect the progress, they want something they can forward as a PDF — not a screen-grab of a WhatsApp thread.
Getting Approvals Through Updates
Progress updates are also an opportunity to get informal approvals in writing.
When you complete a significant decision point — the feature wall colour has gone on and looks different to the chip, the patterned tile has been laid out and one option works better than the other — send the photo and ask directly: "The forest green on the feature wall is up. Happy for us to continue? Reply yes and we'll crack on."
That reply is your written approval. It means that when the client stands in the finished room and says "I'm not sure about this colour now", you have documentation that they approved it at the point of no return.
For guidance on the final stage — getting formal written sign-off when the job is done — see how to get client sign-off on construction work. For sending a complete photo report at the end of the project, send a professional photo report instead of WhatsApp photos covers the complete process.
Practical Tips for Better Progress Photos
Taking good progress photos doesn't require a camera. Your phone is enough. But a few habits make the photos significantly more useful:
- Take photos in natural daylight when possible. Flash photos of freshly painted walls often show reflections that make the finish look worse than it is.
- Get the full wall in the frame, not just a section. Clients want to see the room, not a close-up detail.
- Take the photo at standing height, not floor level. It approximates how the client will see the room.
- For tiling, photograph the whole section plus a close-up detail shot. The client wants to see the layout and the finish quality.
- Include something for scale — a door, a window, or a piece of furniture — so the client can orient themselves.
Try It on Your Next Job
The next time you complete a significant stage on a job, take 5 photos and send a brief structured update. Note how the conversation with the client changes.